All products page
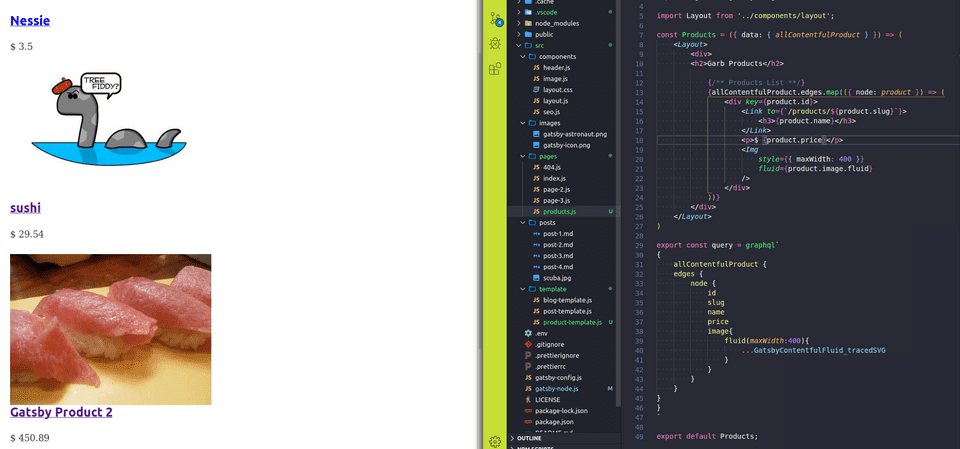
On day 37, we had an all product query as a test Step1. We will take that, and make a new page to show all the products.
Again, referring back to day 37, if you look at Step4 you’ll see how we take data from our query and print it on a page. The only differece here is that the query is slightly different, and we should keep it shorter.
Why shorter?
It is a preview page, maybe just the title and image? What is it you like to see on a list of products page? We should add price in as well.
Something that interested me the most today has been the tracedSVG option you can pass to images. Instead of the blur up effect. Maybe its a passing thing and I’ll get tired of it, maybe not. For now I think its great. Read up on it here
Snipcart
Since today is Saturday of a holiday weekend, I’m up and well rested and spending more time studying. We’re also going to cover Snipcart.
By now adding a new plugin should be a regular song and dance.
Npm i
npm i gatsby-plugin-snipcart
Api
Head over to snipcart and sign up for a trial. If their site is to be believed it’ll always be free for testing. Once you are signed up, head to profile > api keys & copy that sucker to your clipboard.
.env
If you don’t have a .env file, this might be a good time to do so. Otherwise go ahead and paste you api key into your gatsby-config file.
If you do have a .env file, put your api key in there. Follow convention. Something along the lines of SNIPCART_API_KEY=
Gatsby-config.js
Tell gatsby config about our new plugin. Then use your env variable if you have it. I like the look of using the .env, so that is what you’ll see here.
Update product-template.js
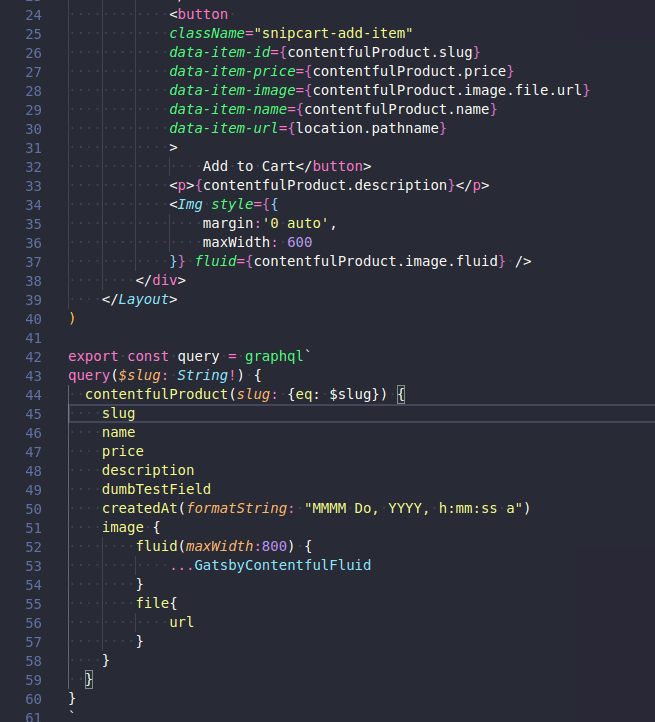
Head over to the product template page.I found this excellent write up on how to add a snipcart button to a page. As you can see, just before step for in the linked article we need to add a bunch of data-item attributes to our button.
Here is my version.
There are a few things to note here. Firstly in the contentfulProduct query we added the slug in, this is so we can pass it to snipcart as a unique identifier. We also need to pass in the location. That happens up at the product template variable definition. const ProductTemplate = ({ data: {contentfulProduct}, location }) =>..
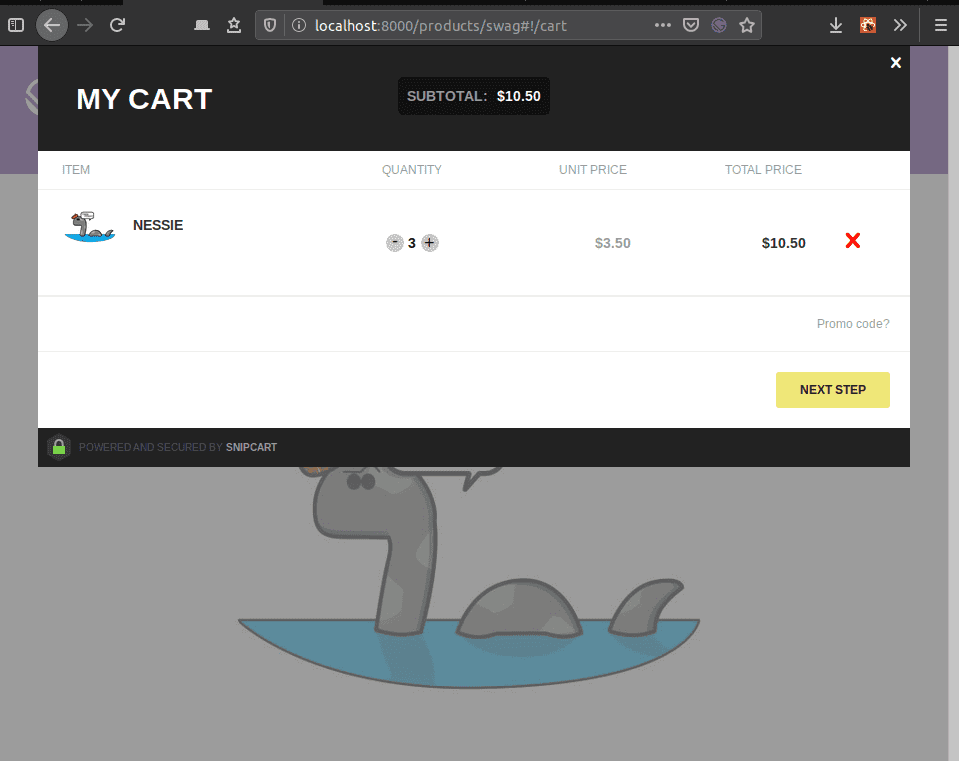
All those things combined should get us an add to cart button that works, at least as a test.


